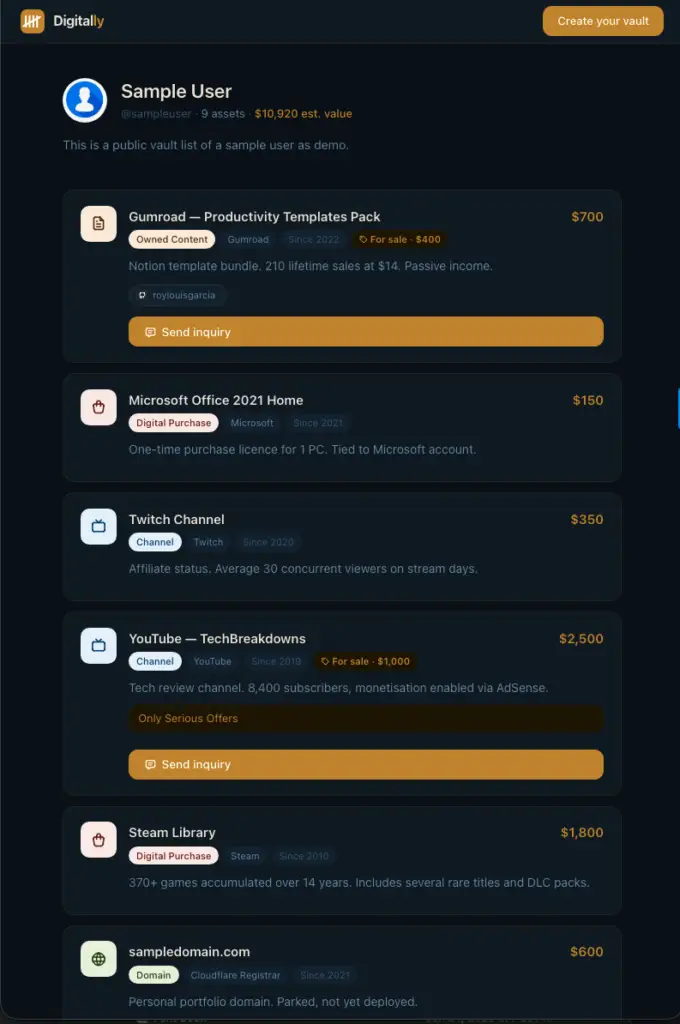
This guide walks you through everything you need to get started. By the end, you’ll have a vault with your first asset, a secured credential, a profile photo, and a public page you can share with anyone.
No technical experience needed. Just follow each step in order.
Step 1 — Create your account
- Go to mydigitally.app
- Click Create vault (or Sign up if you see that instead)
- Enter your email address and choose a password — pick something you’ll remember
- Click Create vault
- You’ll see a message: “Check your email for a confirmation link, then come back to log in”
- Open your email inbox and look for a message from Digitally — click the confirmation link inside
- Once confirmed, return to mydigitally.app and sign in with your email and password
Tip: If you don’t see the confirmation email within a minute or two, check your spam or junk folder.
Step 2 — Onboarding
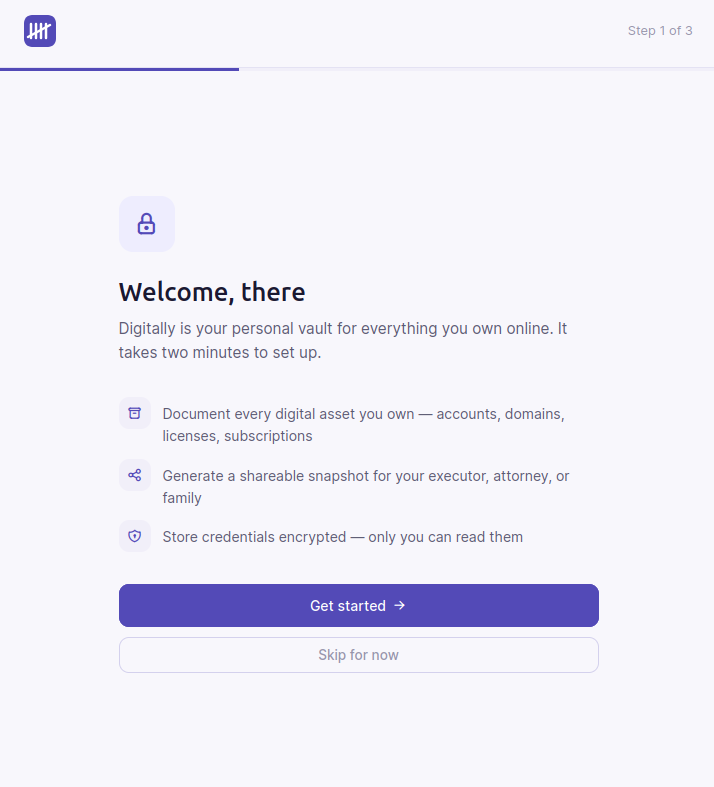
After you sign in for the first time, Digitally walks you through a quick 3-step setup. You’ll see a clean screen with a progress bar at the top — no sidebar yet, just you and the setup flow.
Step 1 of 3 — Welcome screen
- Read through the three things Digitally helps you do
- Click Get started to continue (or Skip for now if you want to jump straight in)
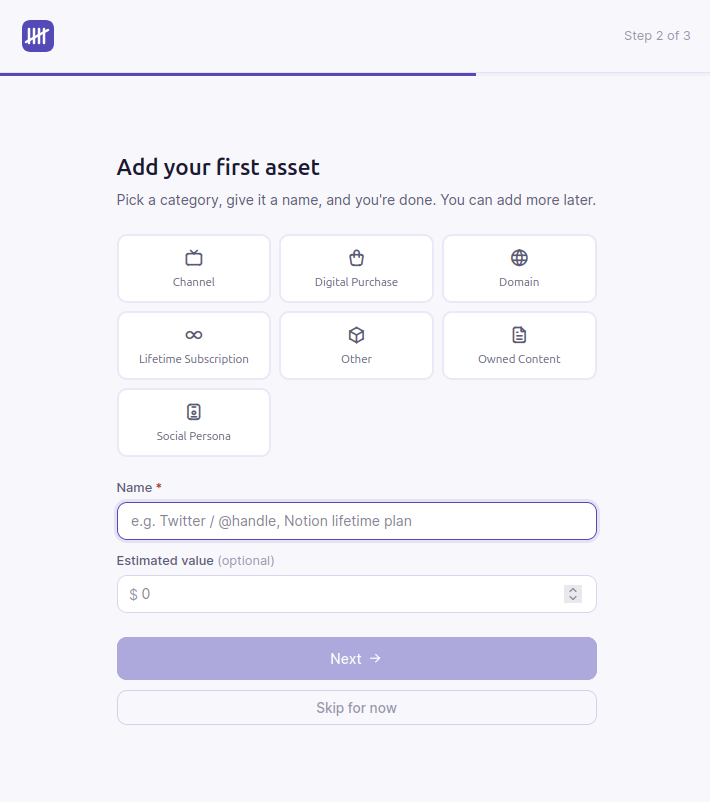
Step 2 of 3 — Add your first asset
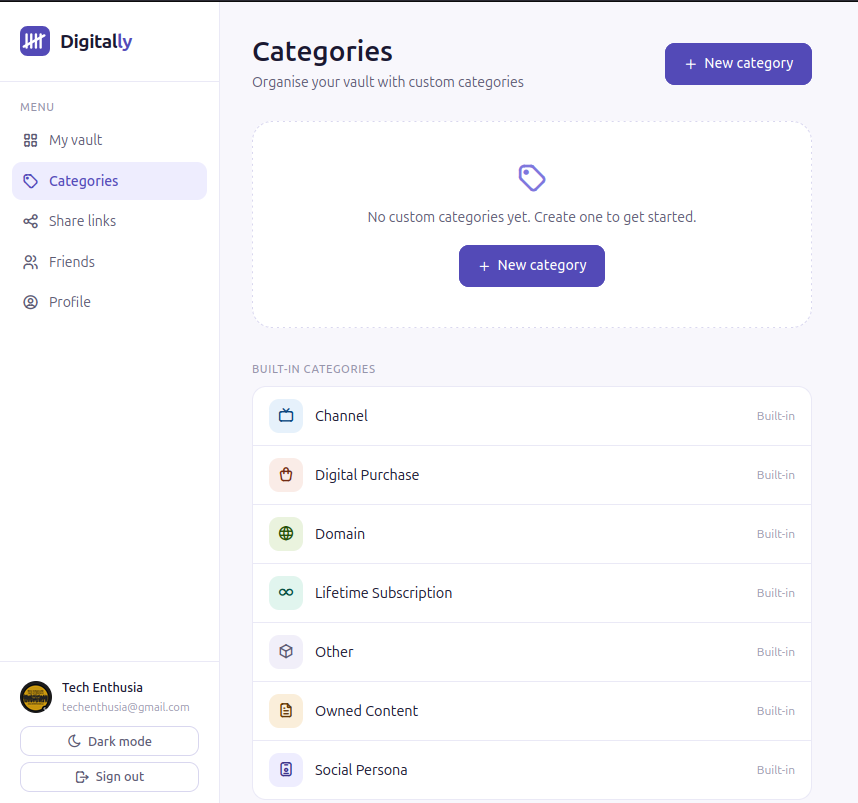
- Choose a category that fits something you own — for example, pick Social Persona if you have a Twitter or Instagram account, or Domain if you own a website address
- Type a name for it in the Name field — keep it simple, like “My Twitter” or “roygarcia.com”
- Optionally enter an estimated dollar value
- Click Next
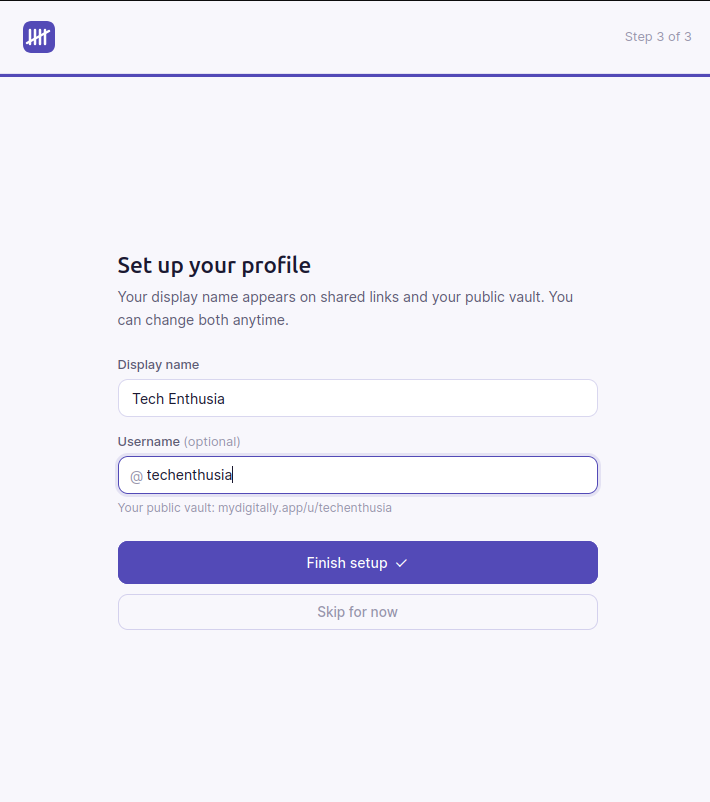
Step 3 of 3 — Set up your profile
- Enter your Display name — this is how your name appears on shared links (e.g. “Sample User”)
- Optionally enter a Username — this becomes your public vault URL (e.g.
mydigitally.app/u/sampleuser). Usernames can only contain letters, numbers, underscores, or hyphens, and must be 3–20 characters - As you type your username, you’ll see a preview of your public URL appear below the field
- Click Finish setup
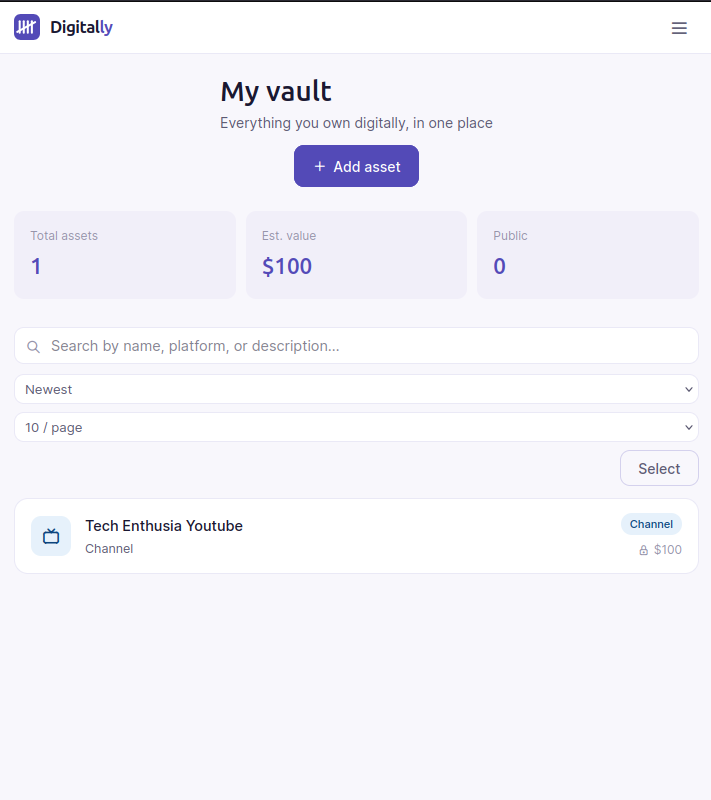
You’ll land on your vault — your home base from here on.
Step 3 — Adding your first asset (from the vault)
You already added one asset during onboarding. Here’s how to add another any time:
- From your vault, click the + Add asset button in the top right corner
- Fill in the details:
- Name — what do you call this asset? (e.g. “YouTube Channel”, “Adobe CC Lifetime”)
- Category — choose the one that fits best from the dropdown
- Platform — the website or service it lives on (e.g. YouTube, Adobe, GoDaddy)
- Estimated value — your best guess at what it’s worth in dollars; this helps build your total portfolio value
- Visibility — choose Private to keep it to yourself, Friends only to share with connected friends, or Public to show it on your public vault page
- Description — optional notes about the asset; useful for an executor or family member
- Proof of ownership — upload a screenshot, PDF, or paste a link that proves you own this asset
- Click Add asset
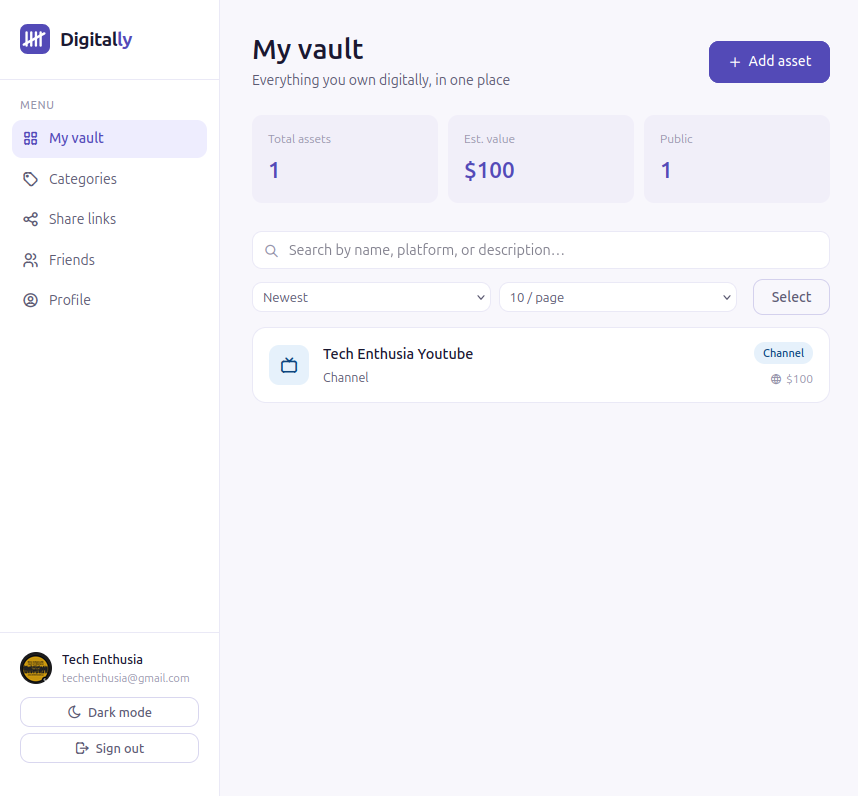
Your new asset now appears in your vault list.
Tip: You can edit any asset later by clicking on it and then clicking Edit.
Step 4 — Adding credentials to an asset
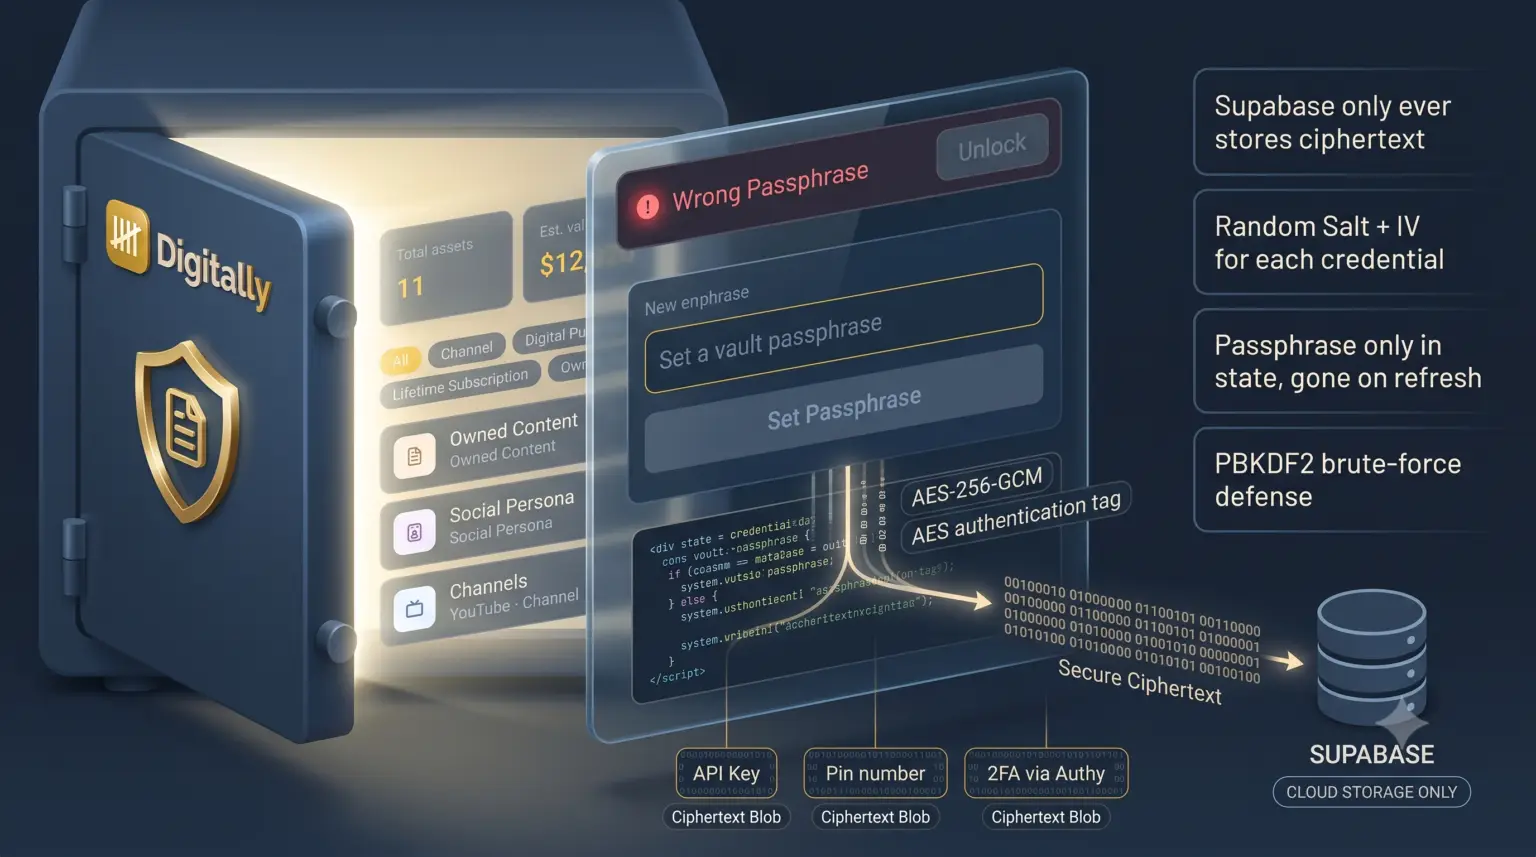
Credentials are passwords, API keys, login details, or any sensitive information tied to an asset. They are encrypted in your browser before being saved — Digitally never sees the actual content.
First credential — set up the vault
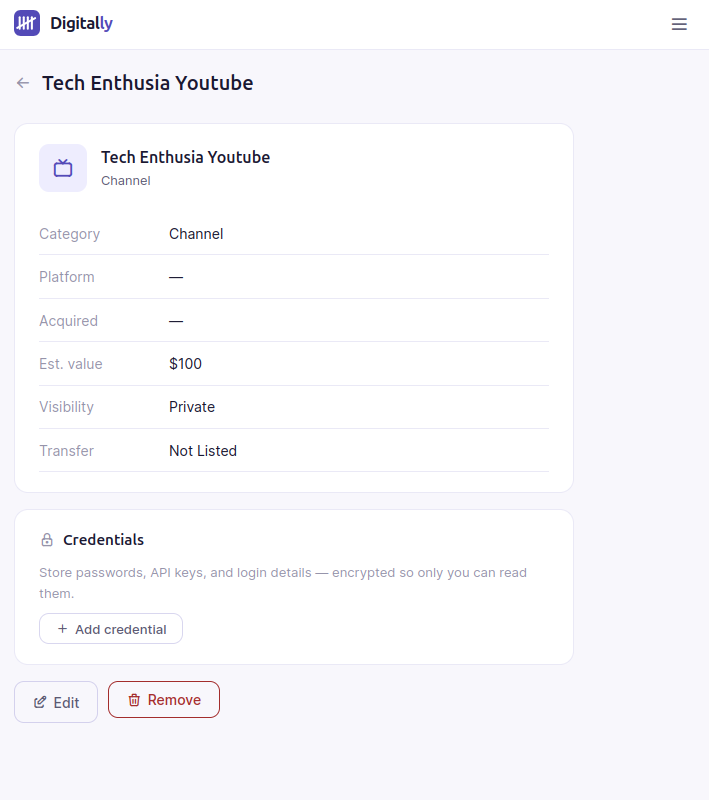
- Click on any asset in your vault to open its detail page
- Scroll down to the Credentials card
- Click Add credential
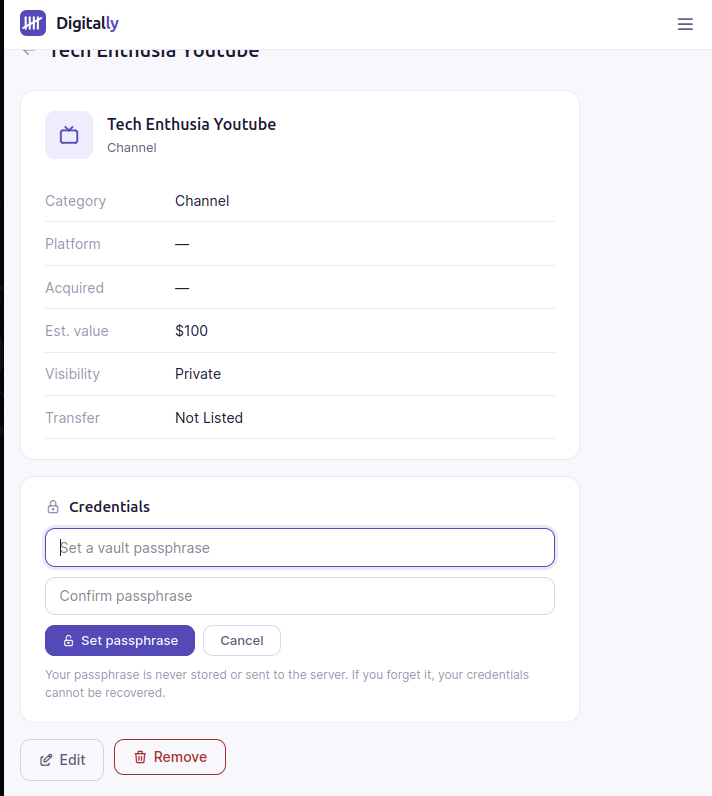
- You’ll be asked to set a vault passphrase — this is separate from your account password; it is never stored anywhere, so choose something you can remember
- Type your passphrase, then type it again to confirm
- Click Set passphrase
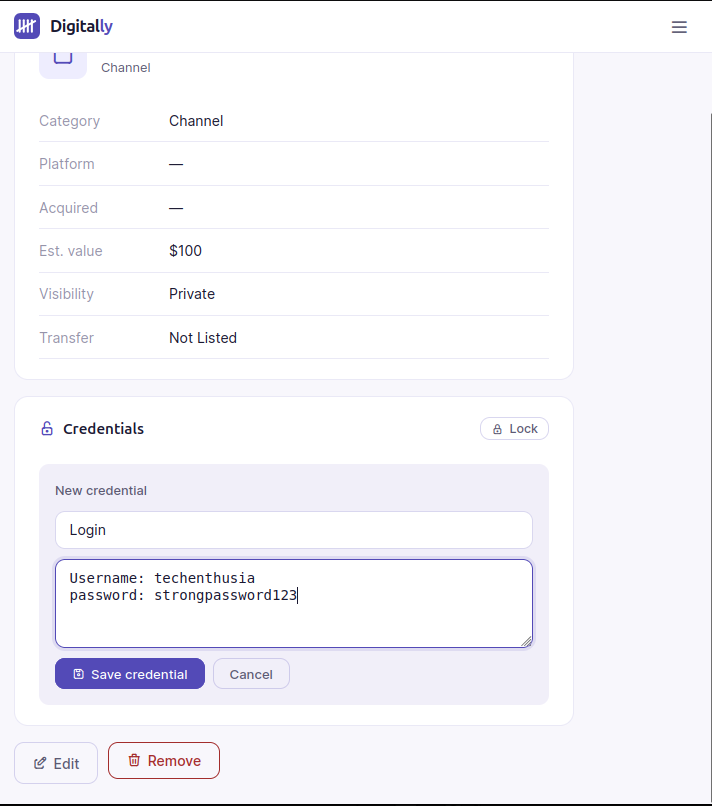
- You’re now in the New credential form:
- Label — a short name for this credential (e.g. “Main login”, “API key”)
- Content — type the actual details in the text area (e.g. username, password, notes — on separate lines)
- Click Save credential
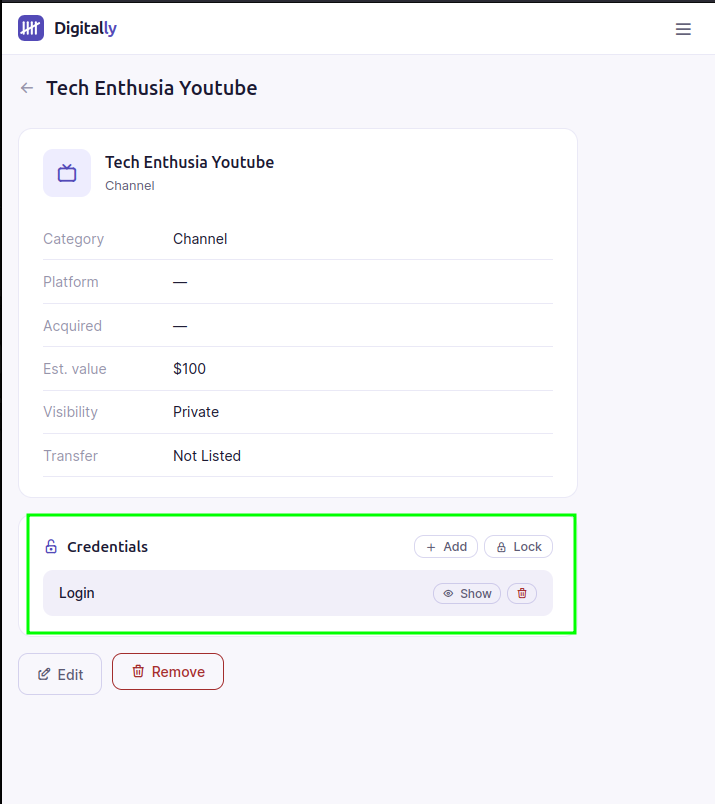
Your first credential is now saved, encrypted, and locked.
Second credential — add another
- You should now see your first credential listed with a lock icon
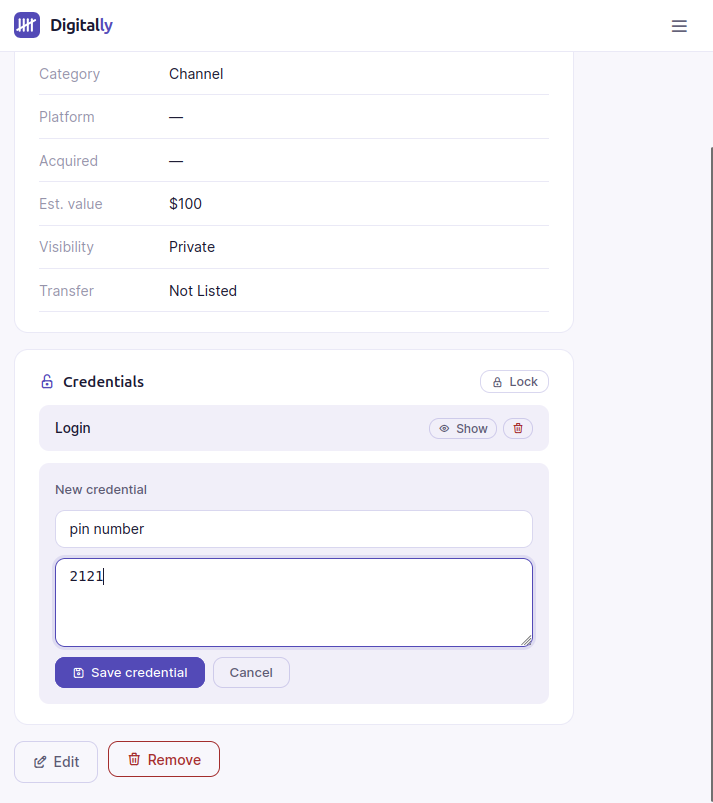
- Click Add in the top right of the Credentials card
- Fill in a new label and content (e.g. “Recovery codes” with your backup codes pasted in)
- Click Save credential
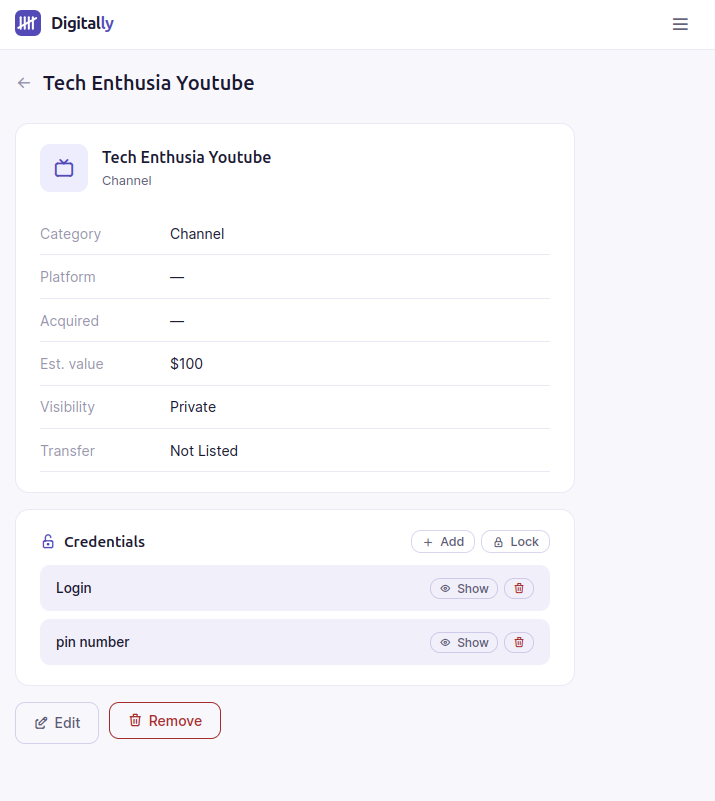
You now have two credentials stored for this asset.
To view them later:
- Click Unlock on the Credentials card
- Enter your vault passphrase
- Click Show next to any credential to reveal its content
- Click Lock when you’re done
Important: Your vault passphrase is never stored. If you forget it, the credentials cannot be recovered. Write it down somewhere safe.
Step 5 — Uploading a profile image
A profile photo makes your vault feel personal and appears on your public page and share links.
- Click Profile in the left sidebar
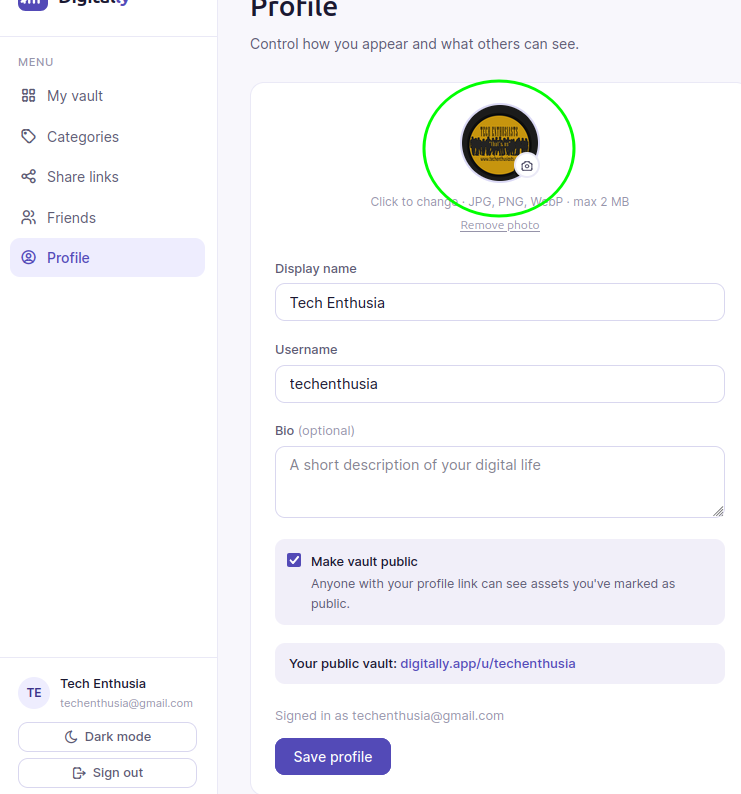
- On the profile page, click the circular avatar area at the top (it shows your initials if no photo is set yet) — or click the small camera icon that appears when you hover over it
- A file picker opens — select a photo from your computer (JPG, PNG, or WebP, up to 2 MB)
- Your photo uploads automatically and appears in the preview
- Make any other profile changes you’d like — display name, username, bio
- Click Save profile
Your photo now appears in the sidebar and on your public vault page.
Tip: A square or circular crop works best. If your photo looks stretched, try cropping it to a 1:1 ratio before uploading.
Step 6 — Making your vault public
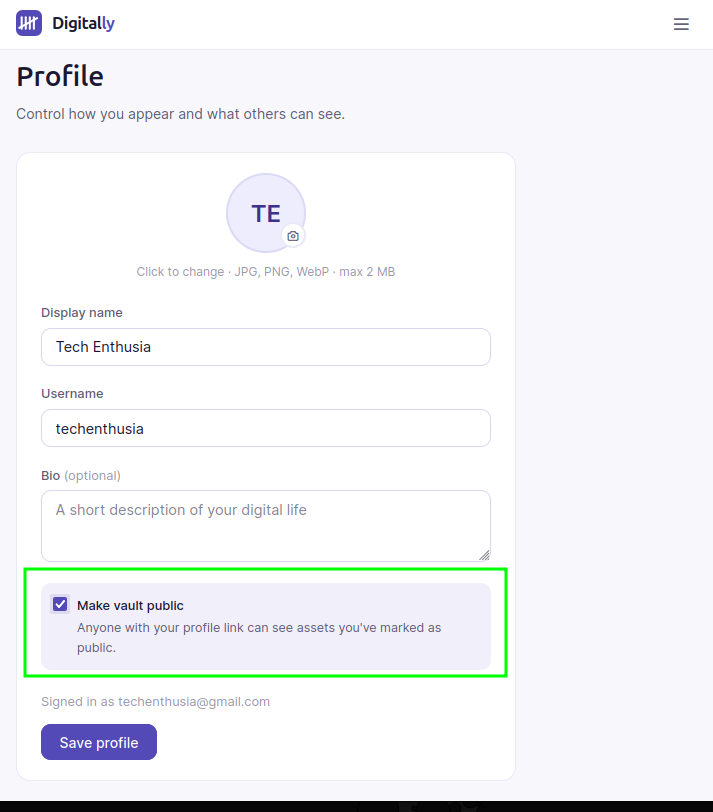
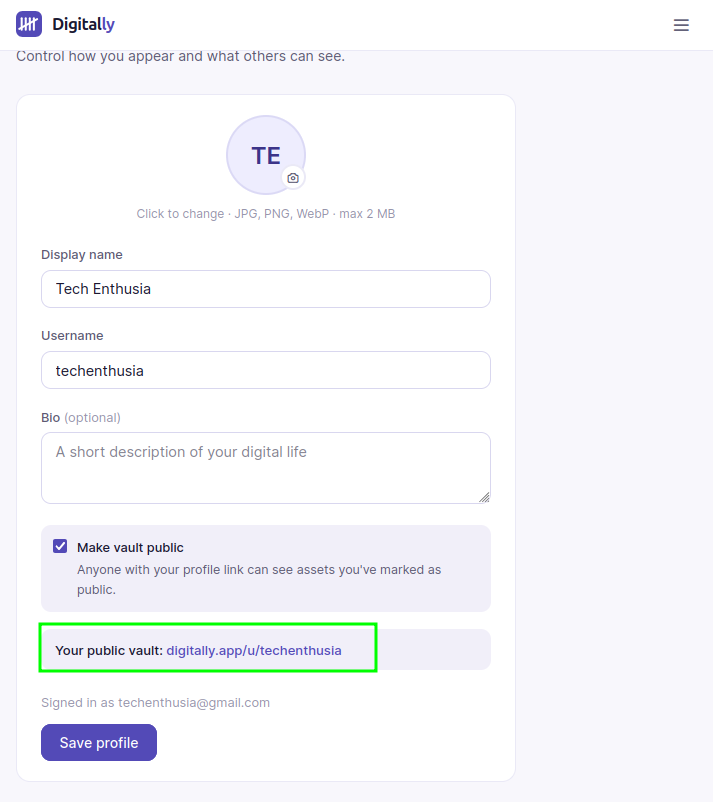
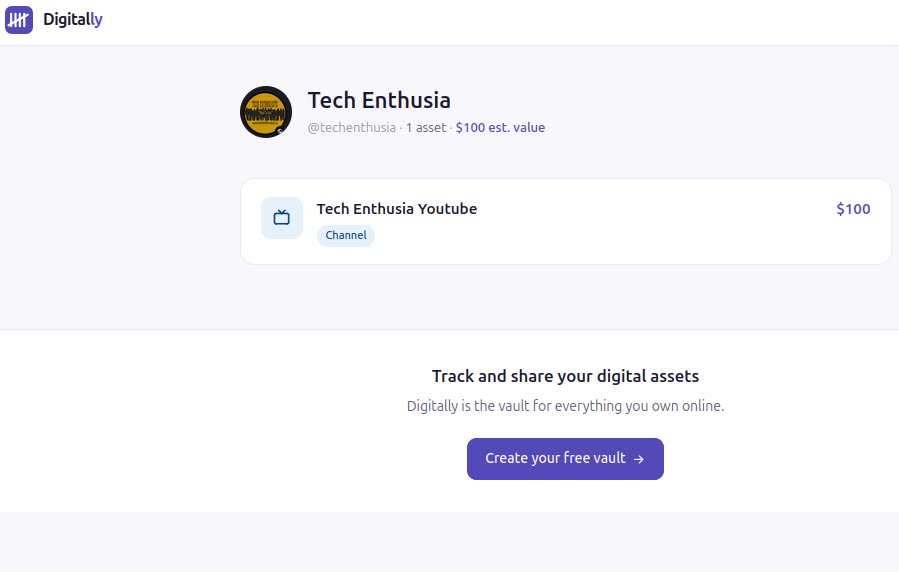
A public vault lets anyone visit your profile page at mydigitally.app/u/yourusername and see the assets you’ve marked as Public. Assets set to Private or Friends only are never shown.
Make sure you have a username first
- If you skipped the username step during onboarding, go to Profile → enter a username → click Save profile
Turn on the public vault
- Click Profile in the left sidebar
- Find the Make vault public toggle and switch it on
- Click Save profile
Check which assets are visible
- Only assets with Visibility: Public appear on your public page
- To change an asset’s visibility: click the asset → click Edit → change the Visibility field → click Save changes
Visit your public page
- Your public vault is live at:
mydigitally.app/u/yourusername - You can share this link with anyone — they don’t need an account to view it
- The page shows your display name, avatar, a summary of your public assets, and their estimated values
You’re all set
Here’s a quick summary of what you’ve done:
| Done | What it means |
|---|---|
| ✅ Created an account | Your vault is secure and belongs to you |
| ✅ Completed onboarding | Your profile and first asset are set up |
| ✅ Added an asset | Your digital inventory has begun |
| ✅ Added two credentials | Sensitive login details are encrypted and safe |
| ✅ Uploaded a profile photo | Your vault looks like yours |
| ✅ Made your vault public | Anyone with your link can see what you own |
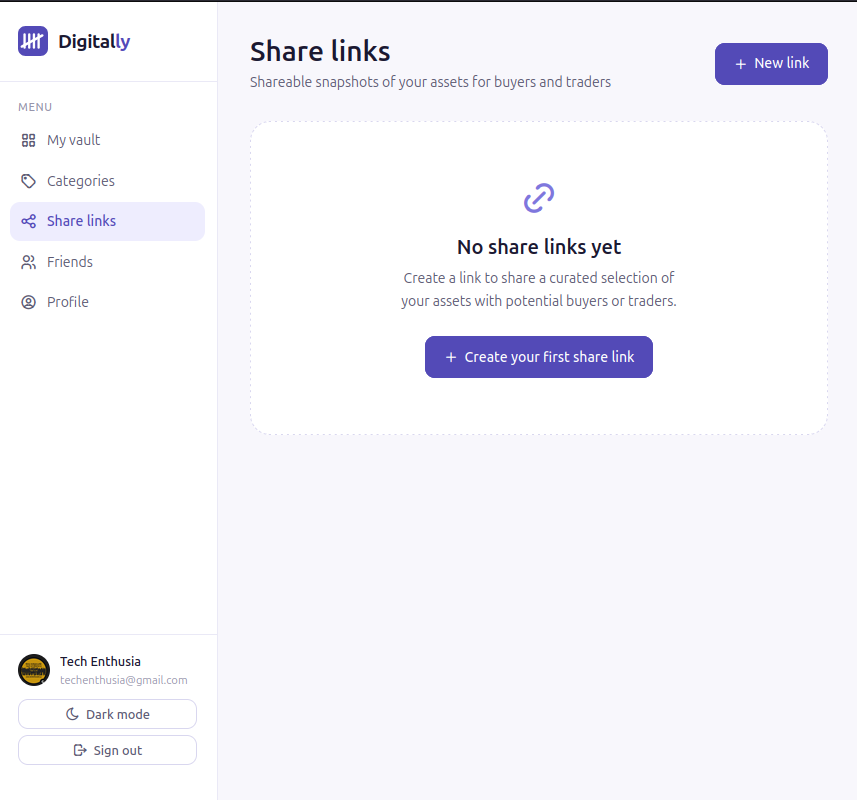
Default Pages:
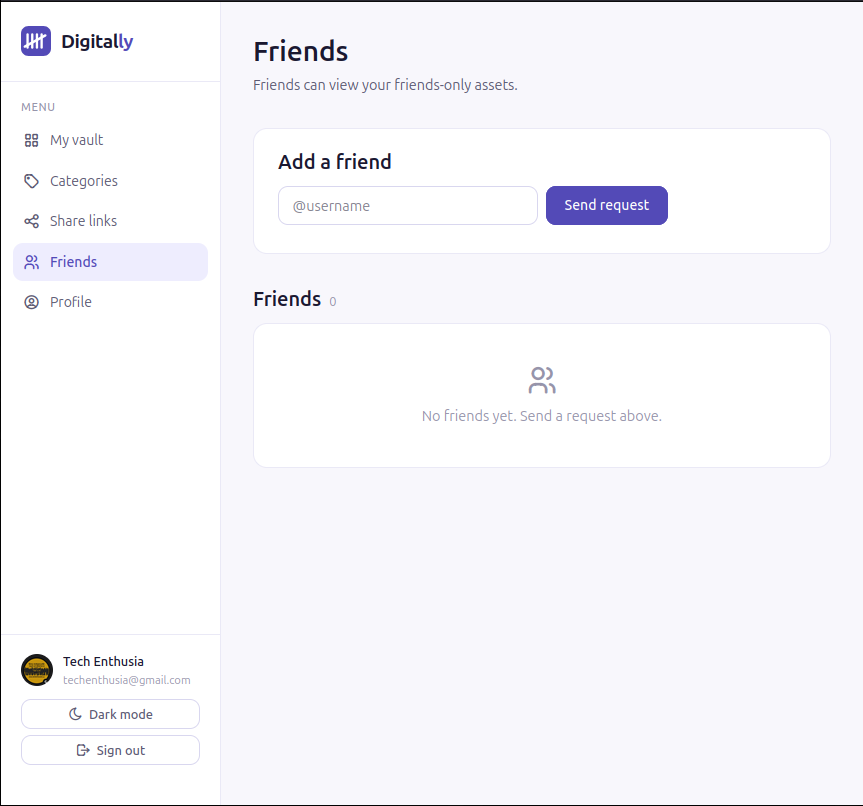
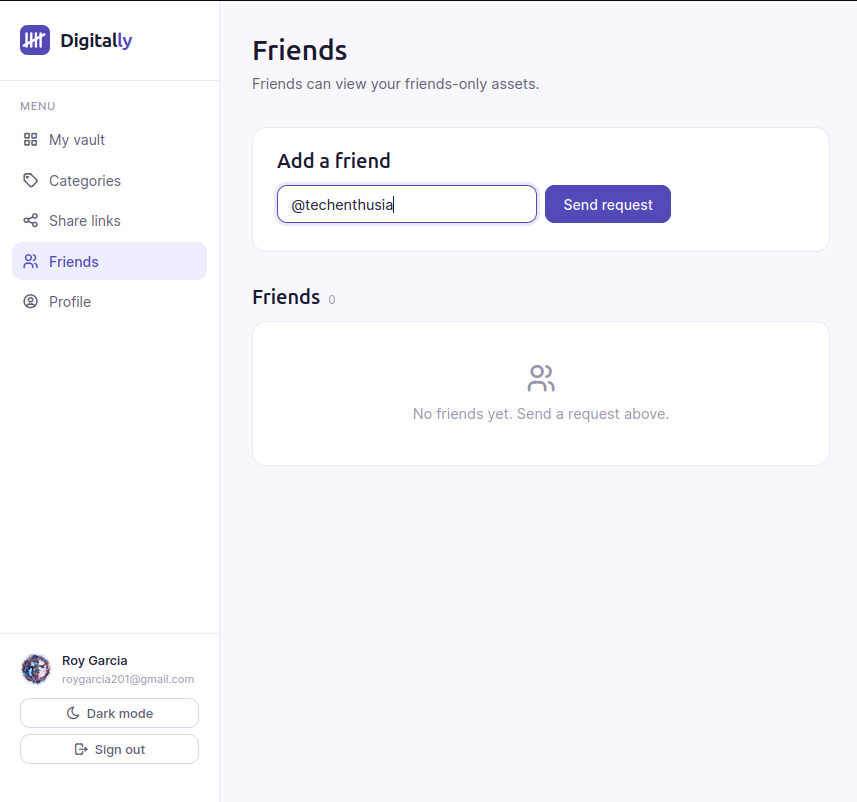
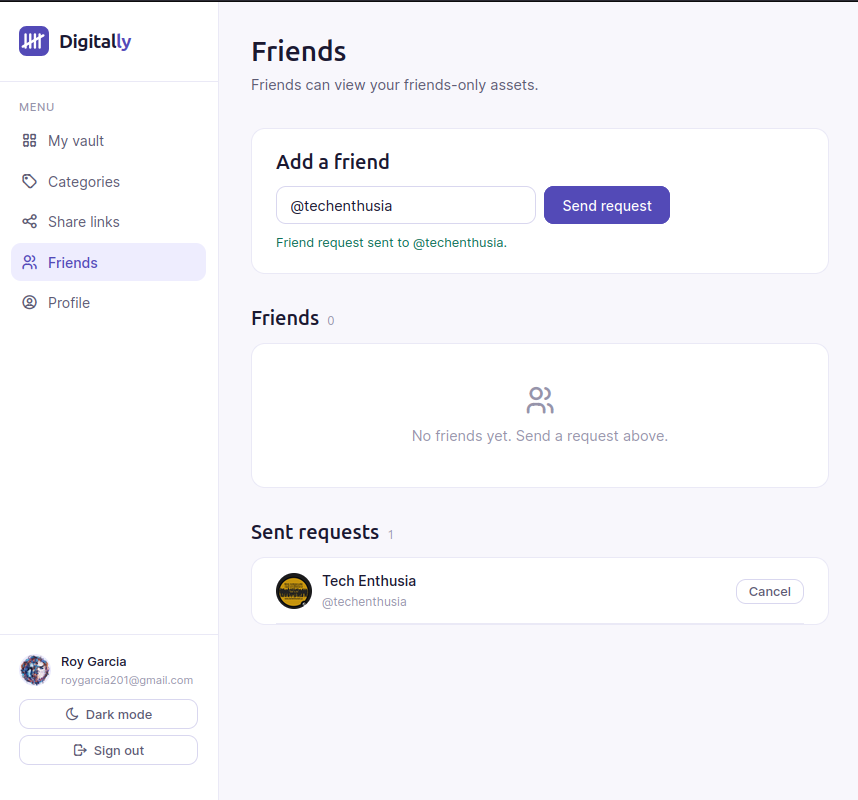
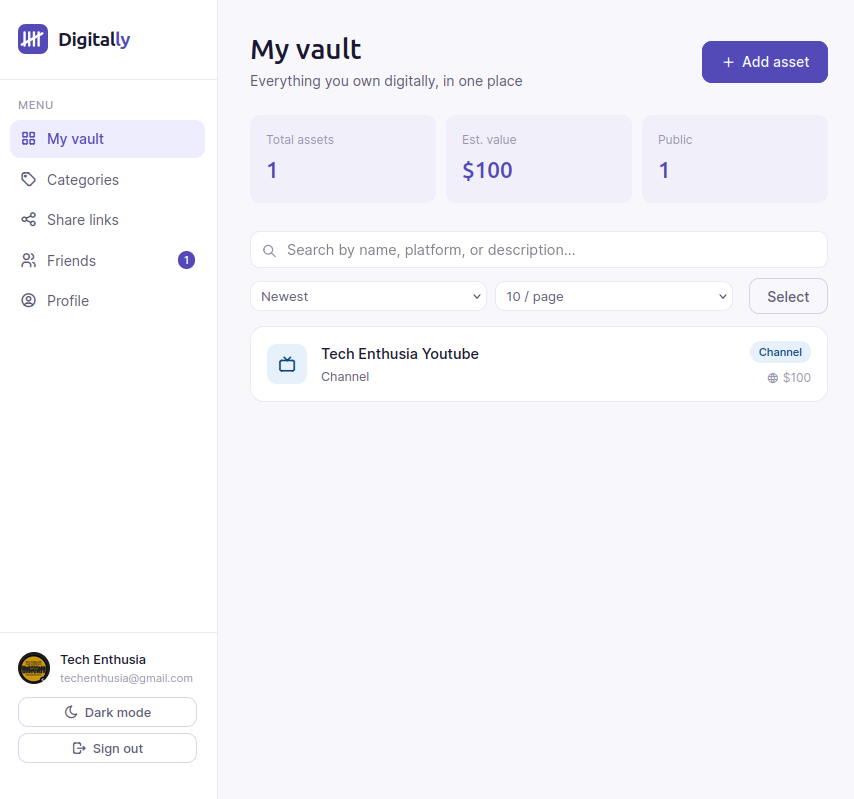
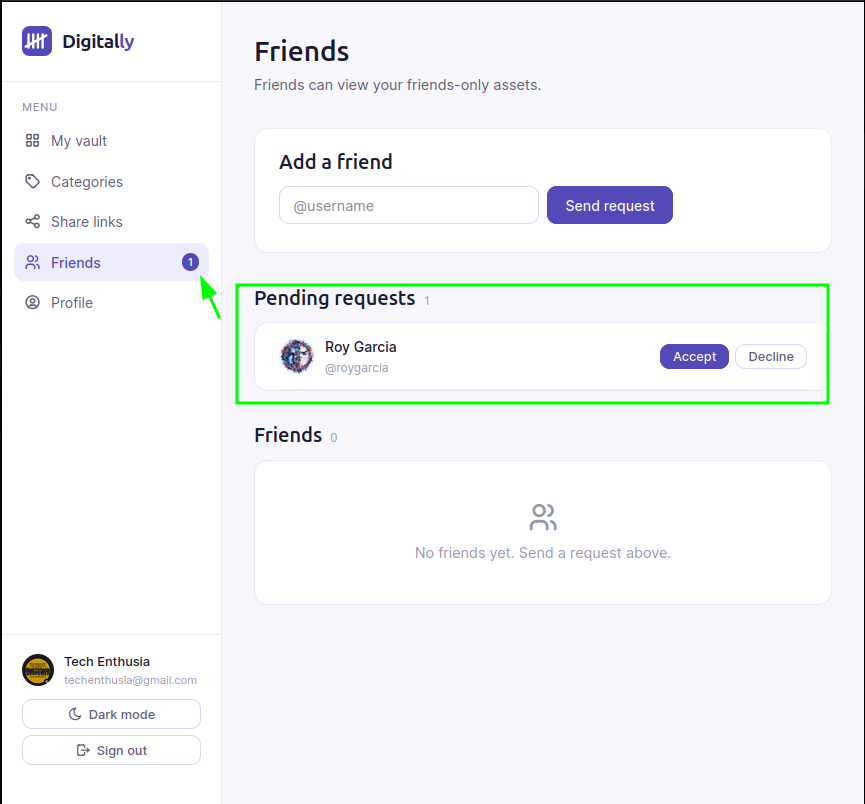
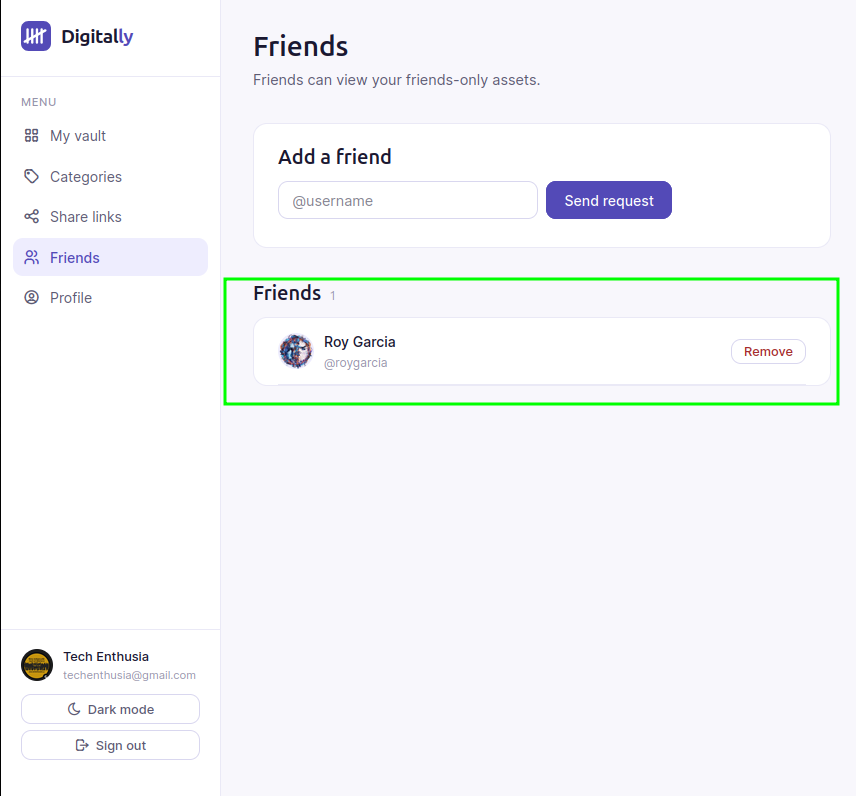
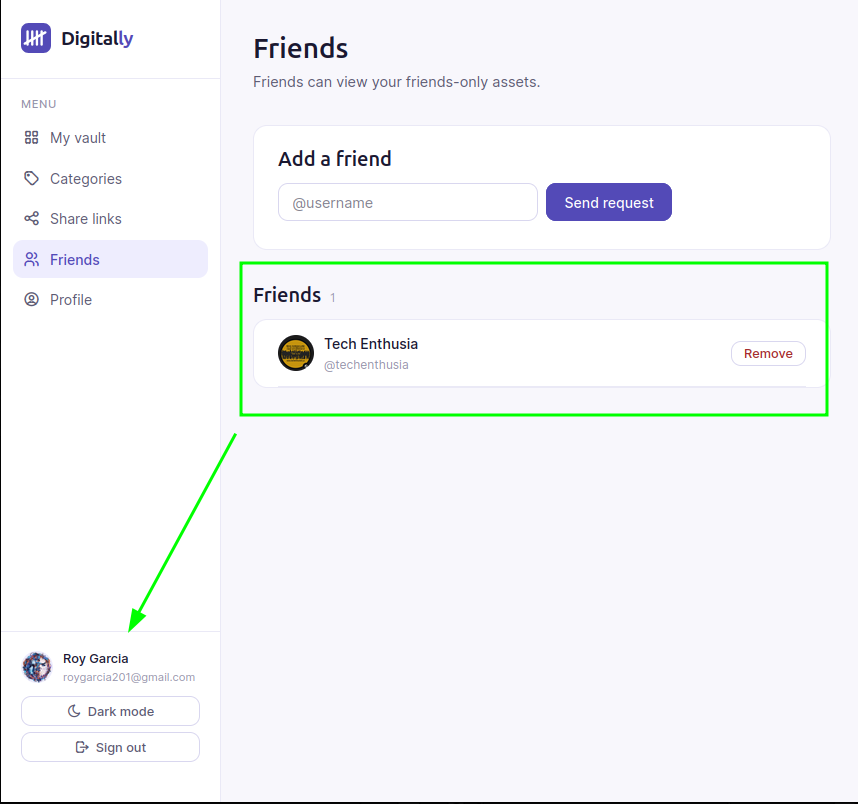
Adding Friends:
Existing Sample Profile
URL: https://mydigitally.app/u/sampleuser